How to make your own “Font Awesome”
Posted on 31 October 2023
Recently we updgraded the Plexaweb website and wanted to make some things a bit leaner to gain on performance.
One thing we did notice was the size of the font awesome font and CSS was massive in comparison to the handful of icons we used.
To get around this we decided to DIY it.
Download Font Awesome
The first step is to download Font Awesome.

We went for the free version. When you download font awesome, as well as some other files there is an svgs folder that contains each individual icon as an SVG. This means you can handpick the ones you want.
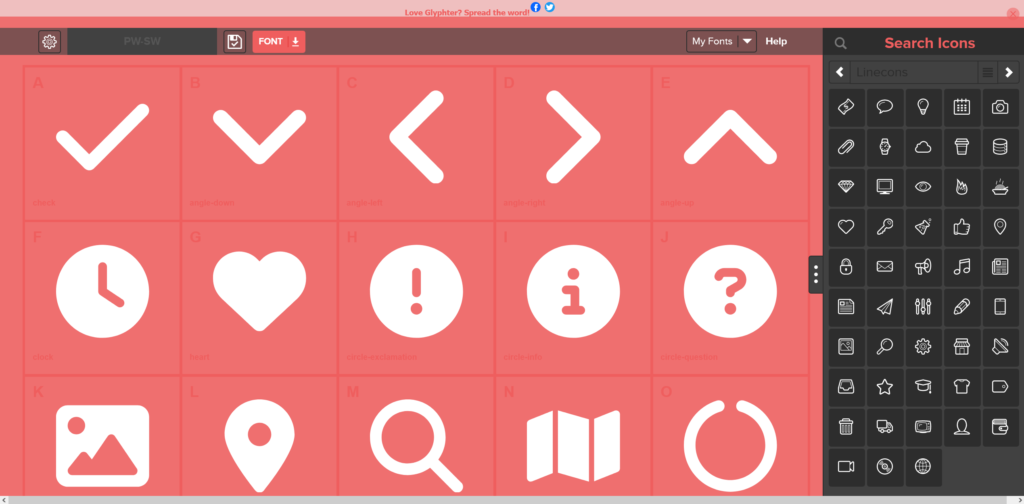
Glyphter
If you go to https://glyphter.com/ you can upload the ones you want and then download the font with CSS – much the same as the typical way we include font awesome in websites “fa-myicon”.

The only downside (not sure on the paid version) but you don’t get woff2 – woff2 is supported by the majority of modern browsers and has a smaller footprint than other files. We ended up using an online converter to get our woff2 font and then we altered the CSS file.
CSS
The CSS file is like this:
/* Generated by Glyphter (http://www.glyphter.com) on  Tue Oct 31 2023*/
@font-face {
    font-family: 'PW SW';
    src: url('../fonts/PW-SW.eot');
    src: url('../fonts/PW-SW.eot?#iefix') format('embedded-opentype'),
         url('../fonts/PW-SW.woff') format('woff'),
         url('../fonts/PW-SW.ttf') format('truetype'),
         url('../fonts/PW-SW.svg#PW-SW') format('svg');
    font-weight: normal;
    font-style: normal;
}
[class*='icon-']:before{
	display: inline-block;
   font-family: 'PW SW';
   font-style: normal;
   font-weight: normal;
   line-height: 1;
   -webkit-font-smoothing: antialiased;
   -moz-osx-font-smoothing: grayscale
}
.icon-check:before{content:'\0041';}
.icon-angle-down:before{content:'\0042';}
.icon-angle-left:before{content:'\0043';}
.icon-angle-right:before{content:'\0044';}
.icon-angle-up:before{content:'\0045';}
So to have woff2 and only woff2, you can remove all the fonts and just stick woff2 in there on it’s own.
Same Font Awesome Classes
If you’re already using Font Awesome you can also do a search and replace on .icon with .fa and then the existing font-awesome CSS classes should work.
Find icons easier
When we did this, it was a bit time consuming finding the icons, we ended up installing a piece of software that would allow the SVG’s to have thumbnails in Windows 10 (not sure if 11, Mac OS or Linux Distros do this natively?) – you can download the software here.
As well as being able to use a selection of font awesome icons, of course you can also add your own to this too.
